
Installing YetiForce can be difficult and tiresome if you are not a developer or system integrator. This process has been made very easy such that in few mins or secs (If you can type fast 🙂 ), you can install YetiForce, and begin to manage your activities and improve productivity in your business.
Let’s get started with the process. However, this one click install YetiForce process is made available to all CloudHost Web Hosting customers for free when they buy any web hosting plan. After you register on CloudHost, to access this one click install functionality follow the below steps.
Below are the simple steps to get YetiForce installed immediately:
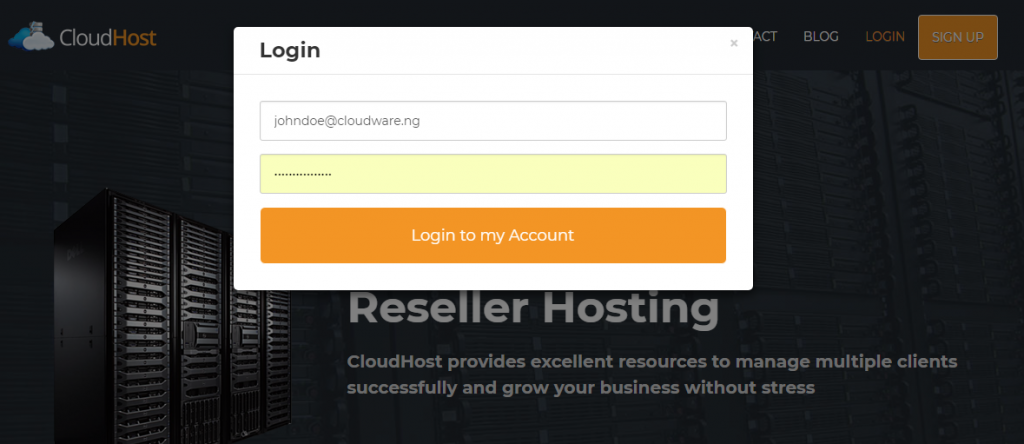
- Login to your CloudHost Client Area.

- Enter your Login details:
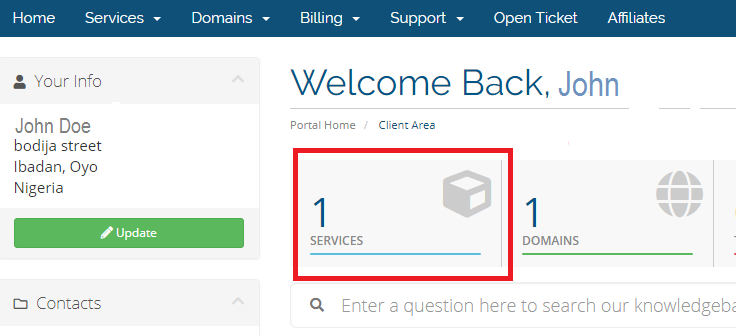
- In your Client Area, click on Services:
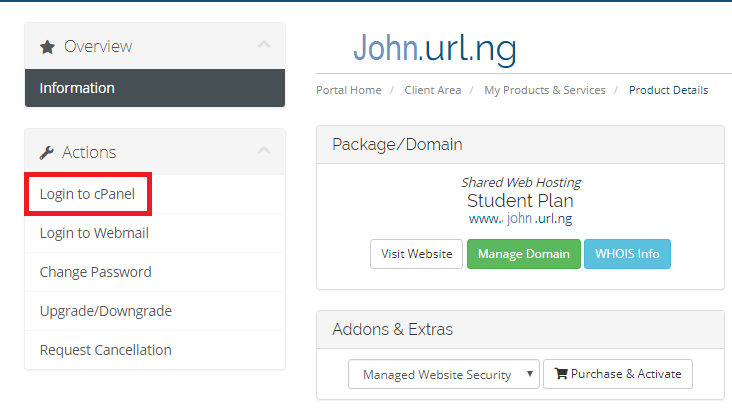
- Click on your active web hosting plan:

- By the left click on Login to cPanel:
- In your cPanel account scroll down and click on Softaculous Apps Installer.

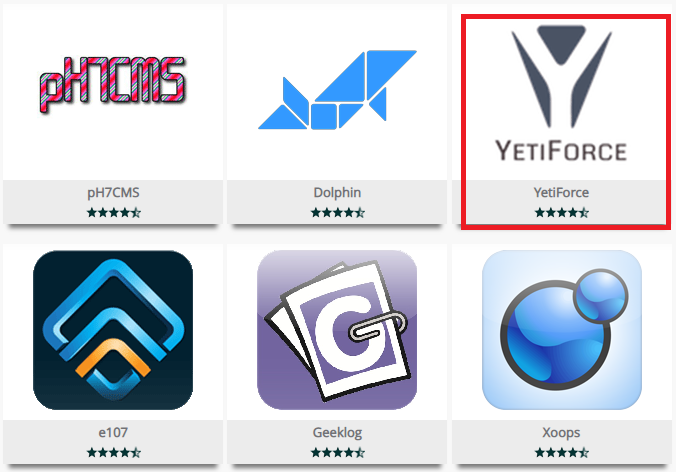
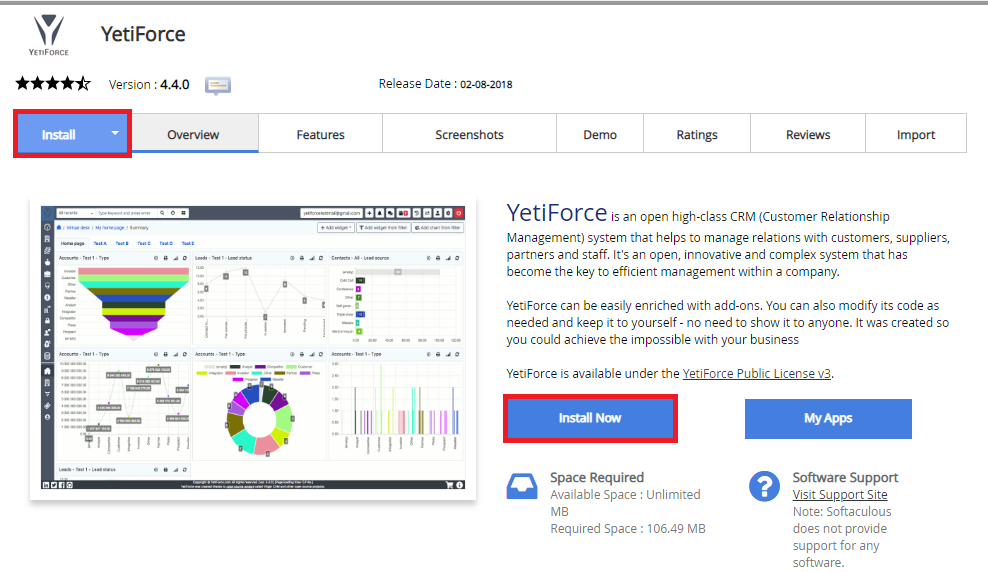
- Click on the YetiForce app/Logo.
8. Navigate to install and configure the software and site.
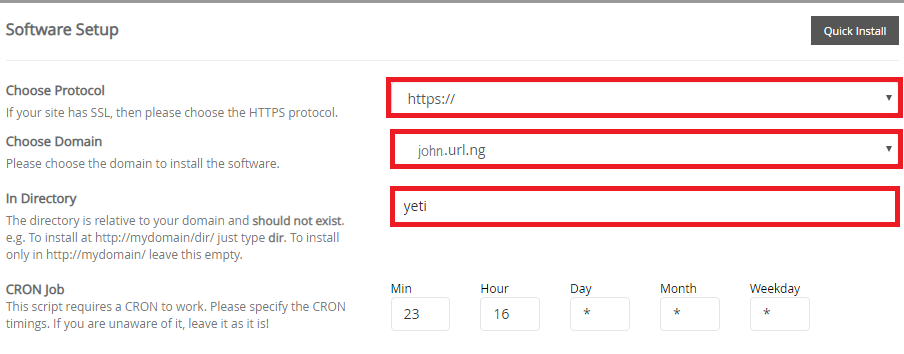
i. Setup your software by choosing a preferred protocol to secure your website, a domain name to install the software and provide a directory that is relative to your domain(E.g. To install at http://mydomain/dir/ just type dir). To install only http://mydomain/ leave the space empty also the script requires a CRON(a time-based job scheduler in Unix-like computer operating systems.) to work. Please specify the CRON timings. If you are unaware of it, leave it as it is:
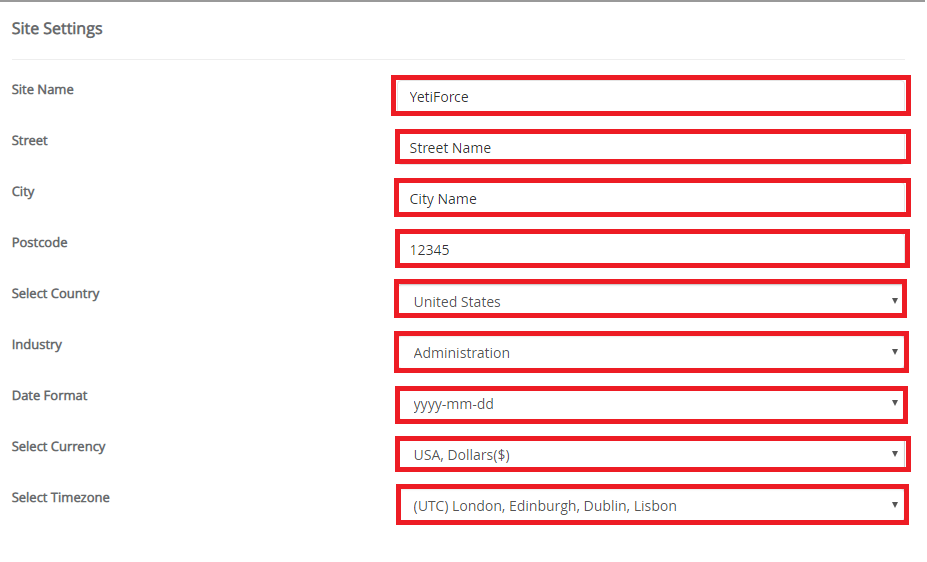
ii. Configure your site setting by updating your site name, street, city, postcode, country, industry, date format also choose your currency and time-zone.
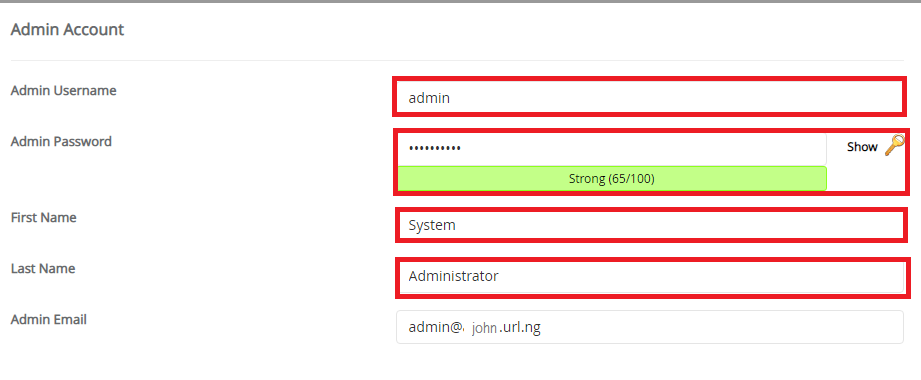
iii. Update your admin account by providing your admin username, password(Please use very strong passwords for higher security), first name, last name and admin email:
- Choose your preferred language:
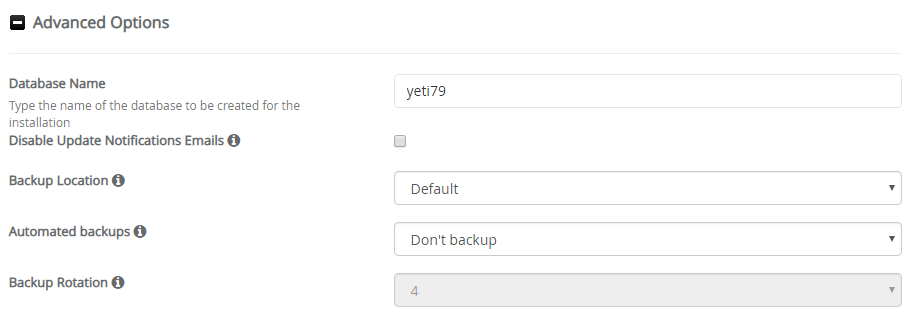
v. In the advanced section, give a name for the database to be created for installation, and in addition select your preferred choice for your site: like automated backup, backup location.
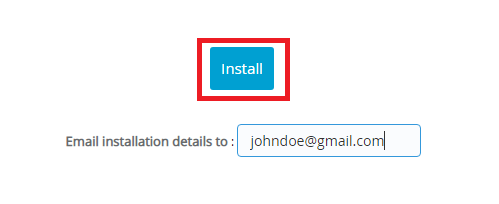
9. And lastly provide the email in which your installation details will be sent to and click install. And…. That it!!
You can see that with just one click, your YetiForce is setup and you can start blogging or creating your YetiForce based website/application
You can login to your YetiForce admin by clicking the admin link shown after installation so as to set more configurations. A very simple process to install YetiForce without being a geek or needing the help a developer. You can do this yourself easily following this above guide
About CloudHost
CloudHost is the most reliable and supportive Shared Webhosting, VPS, Dedicated Server and Domain name registration Service provider, we provide you with various affordable Web & Email hosting solutions to power your applications, websites, Solutions and business. We offer Free Migration services and our servers are always up 24/7/365. Get Started with CloudHost Today!!
About YetiForce
YetiForce is an open source CRM (Customer Relationship Management) system which helps companies manage meetings, calls and events, as well as organize contact information and manage company activities and processes, such as sales, time control, projects, and more. To enhance user-productivity, YetiForce automates processes using workflows, and allows users to add any feature their company needs. Users can also create charts, tables and graphs to gain valuable insight into business performance.
YetiForce can be easily enriched with add-ons. You can also modify its code as needed and keep it to yourself – no need to show it to anyone. It was created so you could achieve the impossible with your business.

Leave a Reply