Say you want to prevent a particular person or a group of persons, this functionality is perfect for you. This feature will allow you to block a range of IP addresses to prevent them from accessing your site. You can also enter a fully qualified domain name, and the IP Deny Manager will attempt to resolve it (map it) to an IP address for you.
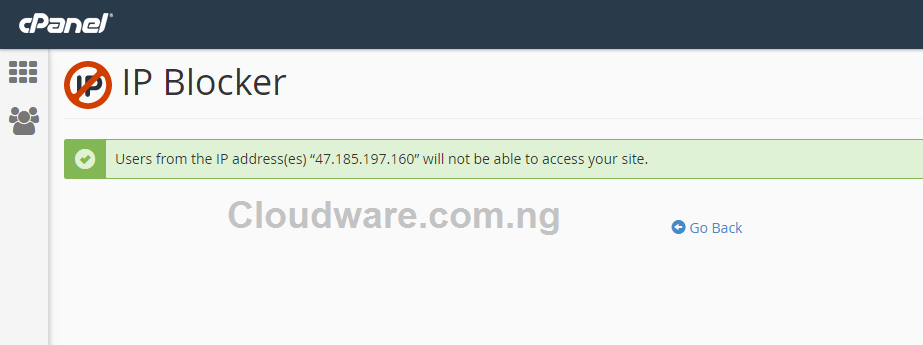
- As said above, say you add this IP Address: 47.185.197.160.
- When added, the user of the IP will not have access to the your website.
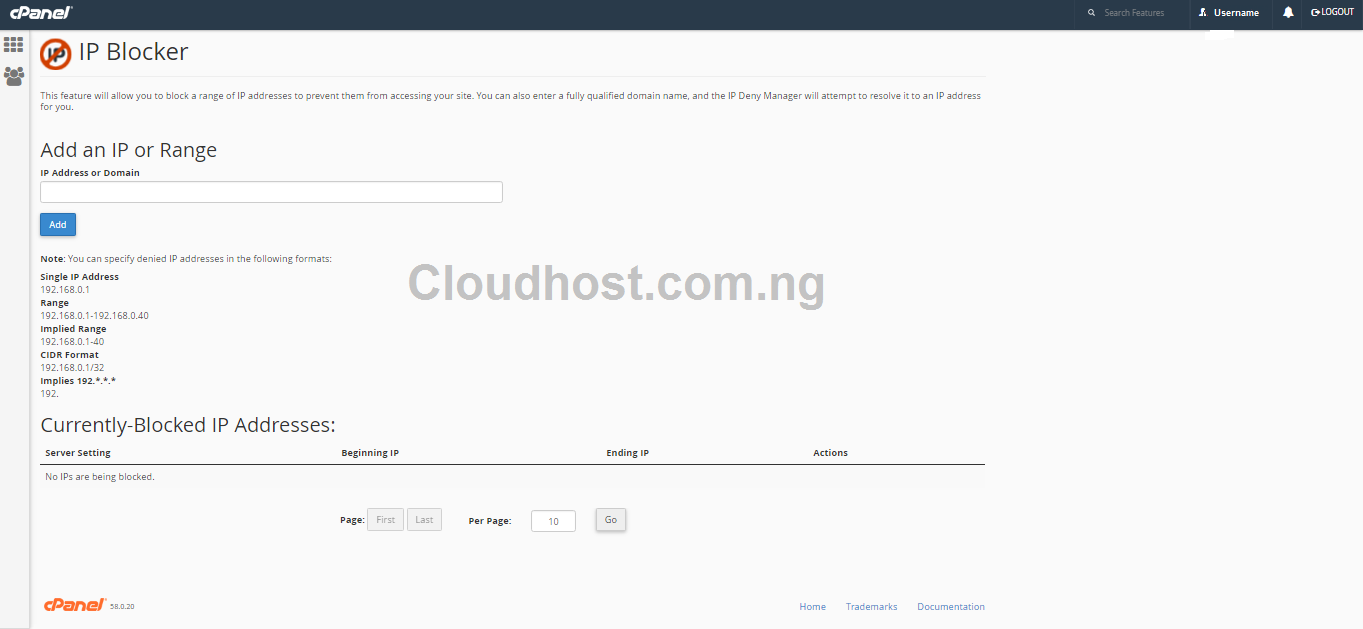
- There is a section for Blocked IP Address. See, the IP we blocked earlier is there.
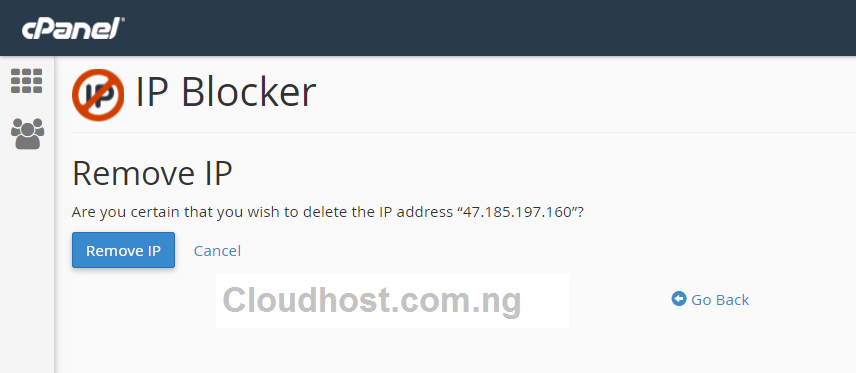
- You can remove a blocked IP Address and allow it to access your website.
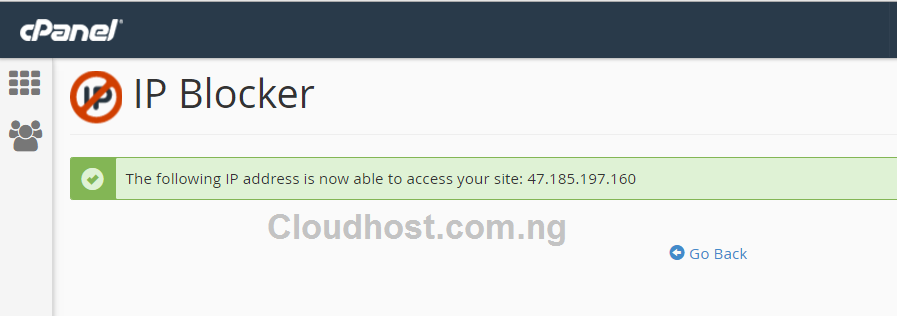
- Success. The IP Address now have access.
To access IP Blocker for your website:
- Log into your cPanel account.
- Click the IP Blocker icon in the section.
3. You will be directed to the IP Blocker page where you can add IP, IP Range or Domain name.
You can also Delete/Remove a Blocked IP from this interface at the Currently-Blocked IP Addresses section.
Note: 10. as an implied IP address implies 10.*.*.*, where each * represents a positive whole number. If you enter 10., the system blocks access to any IP address that begin with 10.
If you enter IP addresses directly into the .htaccess file, enter them in CIDR format only.


Leave a Reply